
SUBCUTANEOUS PEN INJECTION:
STEP-BY-STEP INSTRUCTION GUIDE
SUBCUTANEOUS PEN INJECTION:
STEP-BY-STEP INSTRUCTION GUIDE

INJECTION GUIDE
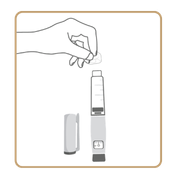
STEP 1: Clean the Pen Tip
Wipe the rubber tip of the pen with an alcohol swab to disinfect it before attaching a needle. Follow the guidelines on how to add a needle below.
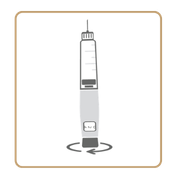
STEP 2: Attach Needle and Set Dose
Remove the paper seal from a new needle and screw it onto the pen tightly. Twist the dial to your prescribed dose. Prime the pen before injecting by turning to 1 or 2 units and pressing until a drop appears.

STEP 3: Clean the injection site
Choose a clean, fatty area, usually the stomach (at least 2 fingers away from the belly button) or upper outer thigh.
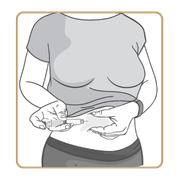
STEP 4: Inject the medication
Gently pinch the skin to lift the fatty layer (especially if you are lean). Insert the needle at a 90-degree angle. Press the injection button until the dose counter shows 0. Hold the pen in place for at least 10 seconds to ensure the full dose is delivered. Then remove the needle and dispose of it safely. Do not rub the injection site. Use a sharps container for needle disposal.

HOW TO REFILL YOUR PEN

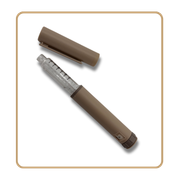
STEP 1:
Remove Cap.
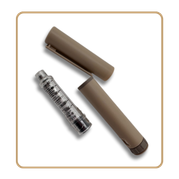
STEP 2:
Unscrew the plastic cartridge holder from the pen/device
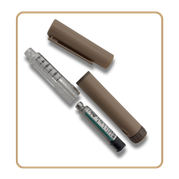
STEP 3:
Insert the cartridge into the plastic cartidge holder, with the silver cap facing upwards.
STEP 4:
Screw the clear plastic holder with the cartridge back into the pen.

STEP 5:
Place cap back onto pen for storage.

HOW TO ADD THE NEEDLE TO YOUR PEN
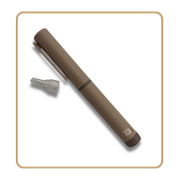
STEP 1:
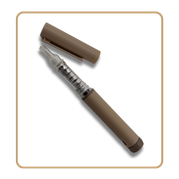
Remove Cap.
STEP 2:
Remove the seal from the needle.
STEP 3:
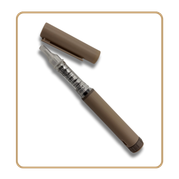
Screw the needle onto the clear plastic holder, with the needle cap facing away from the pen.

STEP 4:
Remove the clear cap from the needle.

STEP 5:
Remove the white cap to expose the needle. Follow the ‘Step-by-Step Injection Guide.
STEP 6:
Place the white cap back onto the needle to cover it.
STEP 7:
Place the cap back onto the pen for storage.
